
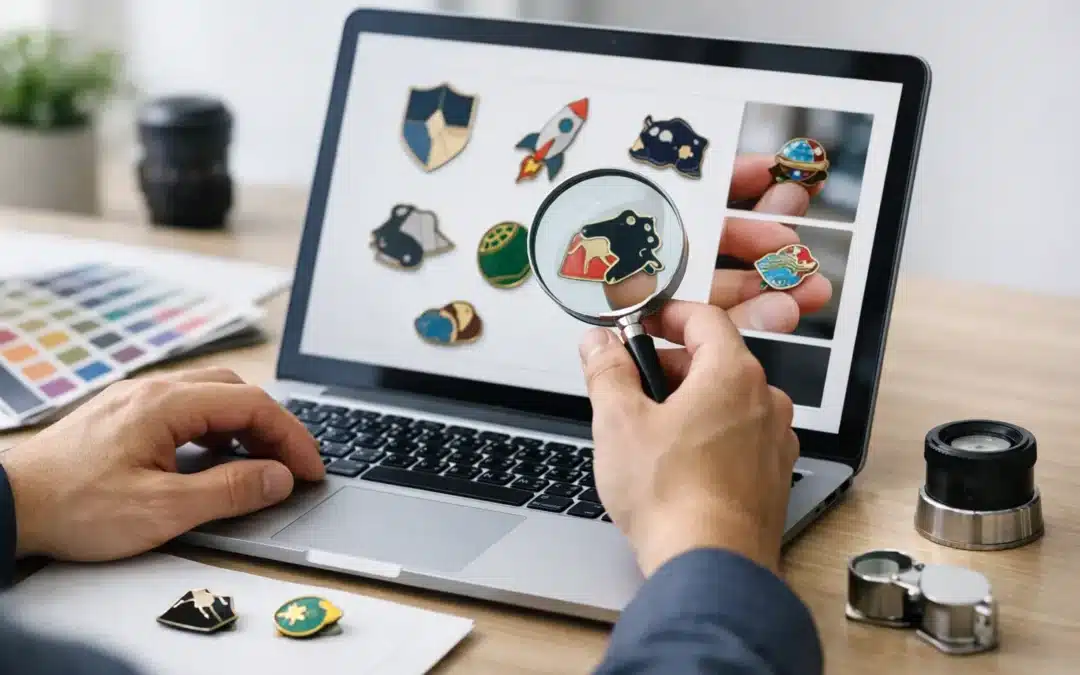
A custom lapel pin may be small, but it carries your logo, message and reputation everywhere it is worn. Before manufacturing begins, taking the time to approve digital pin proofs properly is the best way to make sure your finished pins look exactly as intended – whether they are for a corporate event, school award, sporting club, fundraiser or retail range.
Your digital proof is the final visual checkpoint between an idea and a bulk production order. It shows how your artwork will be interpreted as a real pin, including the shape, colours, plating, finish and attachment. A quick approval keeps an order moving, but a careful approval protects you from avoidable surprises once the pins arrive.
Why the Digital Proof Matters
Custom pins are manufactured from your approved artwork, not from a vague description or a previous email attachment. That makes the proof a practical production document, not just a design preview. It gives you a clear opportunity to check that the pin represents your organisation accurately before tooling and manufacturing get underway.
For businesses, that could mean confirming the logo is current and the brand colours are close to the required Pantone references. For a club or school, it may be checking a mascot, year level, team name or award wording. Event organisers often need to review dates, sponsor logos and small details that can become highly visible when hundreds of pins are handed out on the day.
It is much easier to adjust artwork at proof stage than after production has started. Good approval also helps keep your turnaround on track. If you spot an issue, explain it clearly and send any corrected artwork promptly so the proof can be updated without unnecessary delays.
How to Approve Digital Pin Proofs Properly
Start by viewing the proof at a comfortable size on a desktop screen where possible. Mobile viewing is handy, but small text, fine lines and subtle colour differences are easier to miss. Compare the proof with your original brief, logo files and any references supplied with your quote.
Do not rely only on a quick glance at the overall design. Read every word, number and date character by character. A spelling error in a campaign slogan or an incorrect year on a commemorative pin can turn an otherwise excellent product into wasted stock.
Check the artwork and wording first
Look at the main visual elements: logos, symbols, illustrations and text. Confirm that the correct version of your artwork has been used and that it is positioned as expected. If your pin includes text around an edge, make sure it is legible and evenly spaced.
Small details sometimes need simplification to work well in a pin format. Very fine lines, tiny lettering and complex gradients may not reproduce as clearly in die-struck enamel as they do on a screen. That is not necessarily a problem. In many cases, simplifying a detail makes the finished pin cleaner, stronger and easier to recognise from a distance.
If you are unsure whether an element will read clearly at the finished size, ask. A hands-on supplier can advise whether a slightly larger pin, a printed style or a different finish would better suit your artwork.
Confirm size, shape and edge detail
The proof should identify the intended pin size and shape. Check these against your original request, especially if the design needs to fit a uniform, lanyard, blazer lapel or presentation box.
A larger pin generally gives more room for detail, while a smaller pin can be more discreet and cost-effective for high-volume use. Neither choice is automatically better. It depends on where the pin will be worn, how detailed the artwork is and the impact you want it to have.
Also review the outline. A custom-shaped pin can follow the contours of a logo, mascot or product silhouette, while a standard circle, square or shield may offer a classic look and simpler visual balance. Look closely at any cut-outs, internal spaces and sharp points to ensure the shape reflects your intended design.
Review colours, plating and finish
Digital screens display colour using light, while physical pins use enamel, ink and metal. This means a proof is an accurate guide to layout and colour selection, but it cannot perfectly replicate every finished material effect on screen.
Check that the nominated colours match your brand requirements as closely as possible. If you have Pantone references, provide them early and make sure they are noted in the proof or order details. Where exact brand consistency matters, such as for corporate identity or a national campaign, this step deserves particular care.
Review the metal plating too. Gold, silver, antique finishes, black nickel and other options can change the character of the same design. Gold may suit achievement and recognition pins, while black nickel can give a modern, high-contrast result. Consider whether the plating complements your logo colours and whether raised metal lines should be a key part of the look.
For printed pins, confirm any gradient, photographic element or fine artwork is represented correctly. An epoxy coating can add a smooth, glossy protective surface, while enamel styles provide a more traditional raised-metal finish. Your proof should make the selected style clear.
Check the attachment and back of the pin
The front of the pin gets the attention, but the back determines how easily it can be worn and how secure it feels. Confirm whether your order uses a butterfly clutch, magnet, safety pin, brooch fitting or another attachment.
A magnetic backing is often a smart option for people who do not want to pierce clothing, particularly on business shirts, delicate fabrics or premium uniforms. Butterfly clutches are a familiar choice for lapel pins and work well for many standard designs. Larger or heavier pins may need more support, so it is worth discussing the most suitable option before approval.
If the back includes engraving, numbering, a website address or a secondary logo, review that artwork with the same care as the front. It can be easy to overlook because it is not the hero side, yet it remains part of the finished product.
A Final Proof Approval Checklist
Before you send approval, make sure you can confidently say yes to each of these points:
- The correct logo, wording, dates and contact details are shown.
- The size, shape, orientation and edge profile match your brief.
- Colours, metal plating and pin finish are correct for your brand or event.
- The attachment type suits how the pin will be worn.
- Any special details, such as glitter, engraving, cut-outs, epoxy or presentation packaging, have been included.
If more than one person needs to sign off, collect internal feedback before approving the artwork. Marketing teams may focus on brand consistency, while an event coordinator may notice a date or sponsor detail. Giving everyone one final version to review avoids crossed wires and late changes.
What to Do If You Need Changes
Requesting changes at proof stage is normal. The clearest approach is to mark up the proof or describe each amendment in simple, specific terms. For example, ask for “change the border to silver plating” or “increase the text size under the logo” rather than saying the pin needs to look more polished.
Keep all changes in one reply where possible. Multiple small rounds can add time, particularly when artwork needs to be redrawn or a new layout needs approval. If you have updated logo files, send the highest-quality version available. Vector artwork is ideal for detailed pin production because it retains sharp edges at any size.
Be realistic about what must change and what is simply a screen preference. A proof is designed to confirm the manufacturing direction. If a detail is technically possible but likely to compromise clarity or durability, a practical recommendation from your supplier can save disappointment later.
Give Your Pin the Green Light With Clarity
Once you approve the proof, it becomes the agreed blueprint for your custom pins. That is why a few focused minutes of checking can make such a difference to the final result. Lapel Pins Australia provides free digital proofs and practical guidance, so you can move from artwork to production knowing the design has been checked for the details that count.
A polished pin starts with a clear decision. Review the proof carefully, ask questions while changes are still easy, then approve with confidence and let your design get ready to make a big impact.