
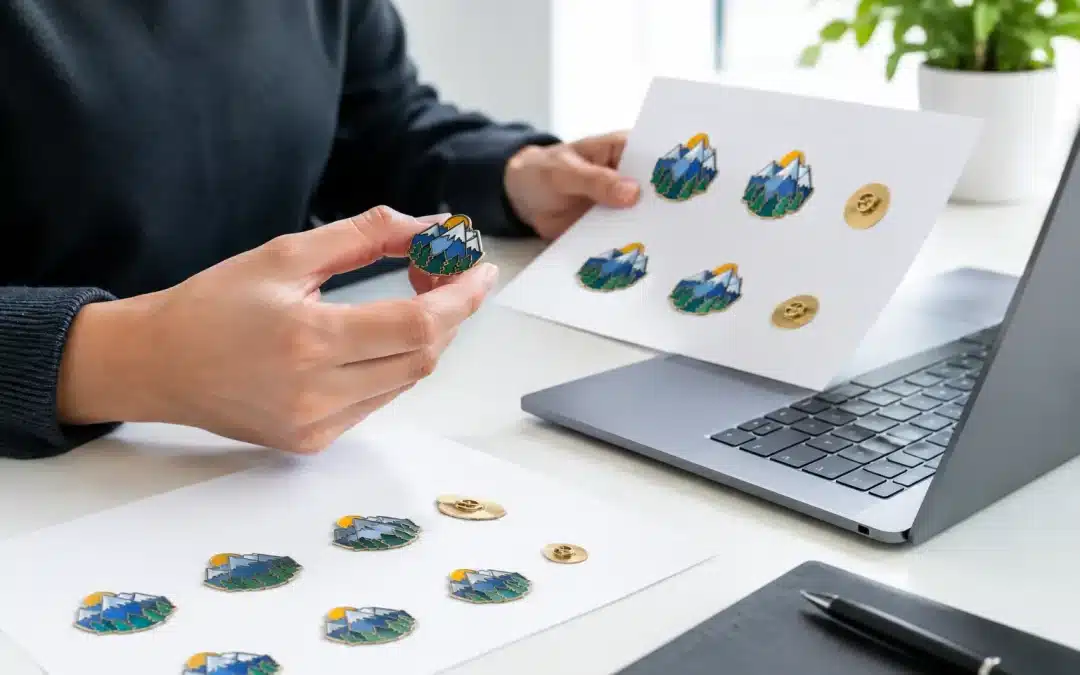
A pin proof can look like a simple artwork preview, but it is the final checkpoint before your order moves into production. Approving custom pin proofs carefully protects your budget, your deadline and the professional look of every finished pin. Whether you are ordering recognition pins for staff, membership badges for a club or event giveaways, a few minutes spent checking the right details can prevent an expensive surprise later.
At Lapel Pins Australia, every custom order starts with a free digital proof so you can see how your idea will translate into a finished product. It is your opportunity to confirm the design is right before manufacturing begins.
What a custom pin proof is designed to show
Your digital proof is a production-ready visual of your custom lapel pin. It shows the artwork layout, pin shape, approximate dimensions, colours, text, finishes and key attachment details. For enamel and die-struck styles, it may also identify raised metal lines and recessed coloured areas. For printed, acrylic or PVC pins, it will show how the artwork is reproduced in that material.
This matters because a pin is a compact item. A fine line, small slogan or tight logo detail that looks clear on a screen at full size may not be as clear at 25 mm. The proof helps you assess the actual design intent, while our team can flag features that need to be simplified or adjusted for the selected manufacturing method.
A proof is not just a courtesy image. Once it is approved, production is based on that approved artwork. Check it as if it were the pin in your hand.
Approving custom pin proofs: the essential checks
Start with the details people notice first: your logo, organisation name and wording. Read every word slowly, including dates, award categories, event names, website addresses and initials. It is easy to see what you expect to see, especially when you have been working on the artwork for weeks. Ask a second person to review it if the pin carries public-facing information.
Next, compare the proof with the artwork or brief you supplied. Check that the logo version is current, the correct people or teams are named and any taglines have been included exactly as required. If your organisation has brand guidelines, keep them beside you during approval rather than relying on memory.
Then look at the pin as a physical object, not just a graphic. Confirm the following production details before giving the go-ahead:
- The overall shape, including custom outlines, cut-outs and any internal spaces.
- The size in millimetres and whether it suits the intended use on a jacket, lanyard, cap or presentation card.
- The metal plating and finish, such as gold, silver, black nickel, antique metal or polished metal.
- The attachment, including butterfly clutch, magnet, brooch pin, safety pin or another option specified in your quote.
These choices affect appearance, wearability and cost. A larger pin creates stronger visibility at a conference or fundraiser, for example, but may need two attachments to sit flat and securely. A magnet is practical where fabric should not be pierced, while a traditional clutch is often the familiar, economical choice for bulk lapel pins.
Check colours with the pin material in mind
Colour is often the most important part of a brand-led pin, but not every production method handles it in the same way. If your brand requires a close Pantone colour match, make sure the relevant Pantone references are supplied and shown or noted on the proof where appropriate. Describing a colour as “blue” or “green” leaves too much room for interpretation.
Soft enamel, hard enamel, printed metal, epoxy-coated and PVC pins each create colour differently. Enamel sections are separated by metal borders, which gives a classic badge-like finish. Printed pins can reproduce more detailed artwork, gradients and small photographic elements, while an epoxy coating adds a glossy protective layer. Acrylic pins can suit colourful, lightweight designs, although their edge and surface look are distinctly different from metal.
Screen brightness can also affect what you see. A digital proof is excellent for confirming layout and nominated colours, but it cannot perfectly replicate the way metal reflects light or how every shade will appear in person. If exact colour matching is crucial for a major brand campaign, uniform program or retail item, raise this before approval. The right recommendation may depend on your design, quantity and deadline.
Make sure fine details will stay clear
A tiny pin has limits, even when the artwork is excellent. This is where practical advice from an experienced supplier is valuable. Very small text, hairline borders, crowded crests and intricate internal shapes can become difficult to read or manufacture cleanly at a small scale.
Look closely at the smallest part of the proof. Can you read the wording without zooming in? Are individual elements of a logo distinct? Is there enough contrast between adjoining enamel colours? If the answer is no, consider increasing the pin size, simplifying the artwork or changing to a printed style better suited to fine detail.
This is not about compromising your identity. It is about making sure the finished pin has impact. A clean, confident design is generally more memorable than a detailed design that disappears at lapel-pin size.
Choose the finish that supports the design
The finish should reinforce the purpose of the pin. Polished gold or silver plating can give corporate recognition and commemorative pins a premium feel. Black nickel can provide contrast for contemporary logos. Antique finishes suit heritage, service and collector-style designs, particularly where raised detail is a feature.
If the proof shows a 3D or die-struck design, inspect the depth and key raised areas. These pins rely on light and shadow rather than bright printed colour, so the relief needs to be clear. If you are ordering pins for an anniversary, executive gift or formal presentation, it can be worth considering a presentation box as part of the overall result.
Confirm quantities, timing and artwork ownership before approval
The proof confirms design, but your order approval should also match the commercial details in your quote. Check the quantity, selected pin type, attachment, packaging and required delivery date. For a school event, charity campaign or sporting presentation night, a small timing error can matter just as much as a spelling error.
Custom pins are made to order, so changes after production begins may add cost or delay the job. If you need pins by a fixed date, tell the team early and allow time for artwork feedback. Fast turnaround is possible when decisions are clear, but it is always safer to approve promptly once every stakeholder has signed off.
If several people need to approve the design, nominate one person to collect feedback. Sending separate, conflicting change requests can slow the process and create confusion. A single consolidated response such as “Please change the year to 2026, increase the logo by 10%, then send a revised proof” is clear and efficient.
How to request changes without slowing the order
If something is not right, do not approve it just to keep the job moving. Reply with precise comments linked to the proof. Mention the relevant text, area or colour rather than saying the design “doesn’t look right”. If possible, provide marked-up artwork or a simple written instruction.
For example, “Please change the enamel fill behind the logo to Pantone 186 C and move the event date below the club name” gives the artwork team a direct action. “Make it more red and tidy up the text” invites interpretation and may lead to another revision.
One round of changes is common and often worthwhile. Multiple revisions may be necessary for complex logos, new branding or committee-led projects. The trade-off is time, so focus feedback on what affects the finished product rather than changing details simply because they look different on a screen.
Give approval with confidence
Before you send final approval, take one last look at the proof at both normal screen size and zoomed in. Confirm the spelling, logo, colours, dimensions, finish, attachment and quantity against your quote. Then make sure the person approving has authority to do so for the organisation.
A well-checked proof turns a small badge into a polished piece of branding, recognition or fundraising merchandise. Take the extra few minutes now, and your pins will arrive ready to wear, share and remember.